
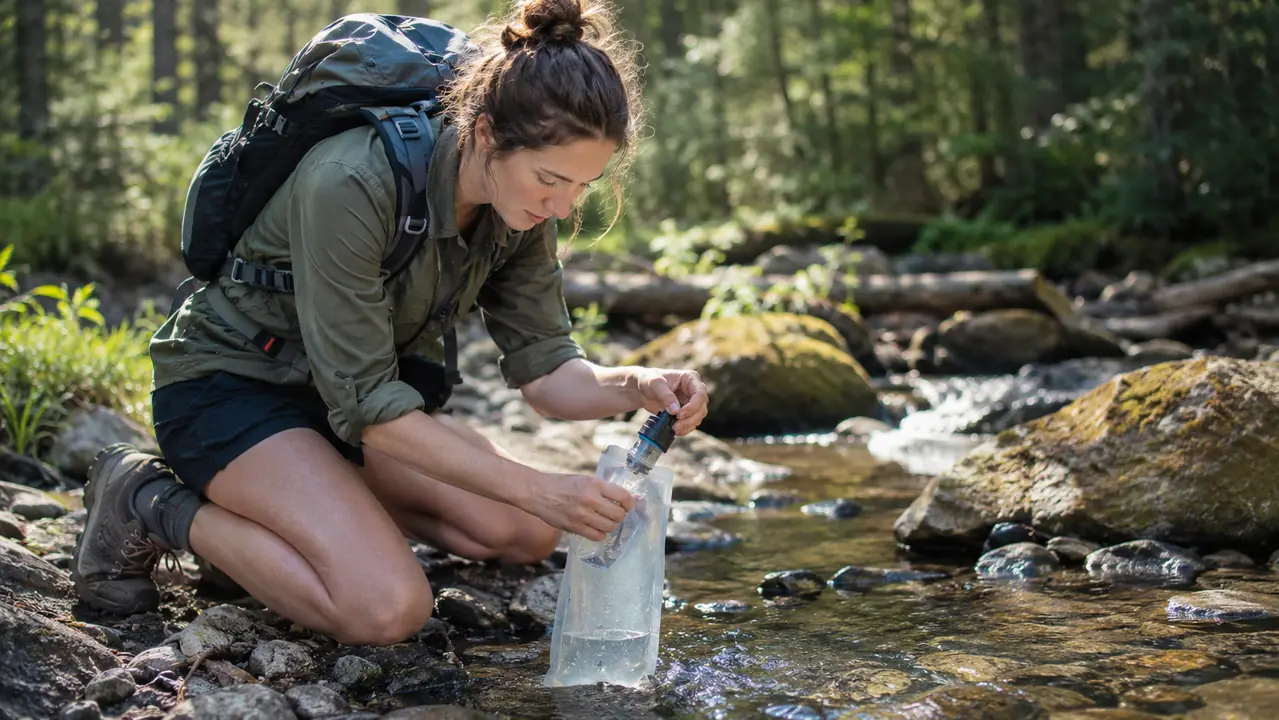
The first time I filtered creek water on the trail, I did it all wrong. I walked up to the first pool I saw, dipped the pouch in, screwed on the filter, and squeezed like I was trying to get the last drop out of a ketchup bottle. Water came out, sure, but it tasted like the bottom of a fish tank, and by mile six the filter was clogged enough that I gave up and carried the rest of the day's water from a spring. That was before I owned a Sawyer. Now, after a full season of drinking from creeks on the Sheltowee Trace, in the Smokies, and at Big South Fork, I have a routine that gets me clean water in about two minutes, with no grit and no clogging. This is how I filter creek water on the trail with the Sawyer Squeeze.
I am Wes Harlan, a retired high school PE teacher who lives outside Louisville, Kentucky. I have been camping for about 20 years and backpacking for maybe 8 of them. My left knee complains on every descent, and my lower back lets me know when a pack is fitted wrong, so I judge gear by weight, comfort, and fit before anything else. The Sawyer Squeeze is the water filter I carry on every backpacking trip now. It is not the only way to treat water, and it is not the fastest, but it is the one I trust. Here is the step by step that works for me.
Why the Sawyer? Three reasons. It weighs about 3 ounces, which matters to a guy whose back complains about every extra pound. It uses standard threads, so it screws onto the squeeze pouches and onto regular wide mouth water bottles, which means I do not need a special bottle to drink from. And it is simple. There are no moving parts, no batteries, no pumping. You fill a pouch, squeeze, and drink. That simplicity is what I want after a long day on the trail.
Start with a filter that has never let me down on the trail
The Sawyer Squeeze is the filter I carry on every backpacking trip. It weighs about 3 ounces, screws onto standard water bottles, and has handled every creek I have thrown at it. Check today's price on Amazon and see why it is my go to.
Amazon Check Today's Price on Amazon →Step 1: Scout the creek before you dip
Do not just walk up to the first pool you see. That was my first mistake, and it is the most common one I see on the trail. Look upstream and downstream before you fill anything. You want moving water, not a still eddy where every leaf and bit of silt has settled. I look for a spot where the creek runs over rocks. Moving water carries less junk, and it is usually colder, which tastes better and keeps the filter happier. I also check for the obvious problems: a dead animal upstream, an algae bloom, or water that smells off. If it looks bad, I walk another quarter mile before I fill.
This scouting step is the one most people skip, and it is the one that saves you the most trouble. A clean source means less work for the filter and a much lower chance of a clog. On a trip to Big South Fork last October, I passed three pools that looked fine from the trail. The fourth, tucked under a rock ledge and running clear and cold, was the one I filled from. It took two extra minutes and made the whole filtering job easier. That is a trade I make every time now.
Step 2: Fill the squeeze pouch without scooping bottom silt
The Sawyer Squeeze comes with two 32 ounce squeeze pouches, and I fill one at a time. I hold the pouch by the top edge and let it sink just below the surface, letting water flow in while I keep the opening a few inches above the bottom. If I scoop from the bottom, I get silt, and silt is what clogs the hollow fiber membrane faster than anything else. I have learned this the hard way, and I have thrown away more than one afternoon fighting a filter that I clogged myself.
I also do not fill the pouch all the way. I leave a little air at the top. That air gives me room to squeeze without water sloshing out around the cap, and it keeps the threads dry so the seal holds better. A dry seal is a happy seal on a trail filter. If the threads are wet and slippery, the pouch can twist off mid squeeze, and you end up with creek water all over your boots and no water in your bottle. It is a small detail, but it is the difference between a smooth process and a mess.
One more note on the pouches: they are tougher than they look, but they are not indestructible. I have put a small hole in one by setting it down on a sharp rock, and I have seen a pouch spring a leak at the seam after a season of hard use. That is why I carry both pouches. If one fails, I still have a way to filter water. The filter itself is the part I protect, and I keep it in the stuff sack with the syringe when I am not using it.
Step 3: Attach the filter and squeeze with steady pressure
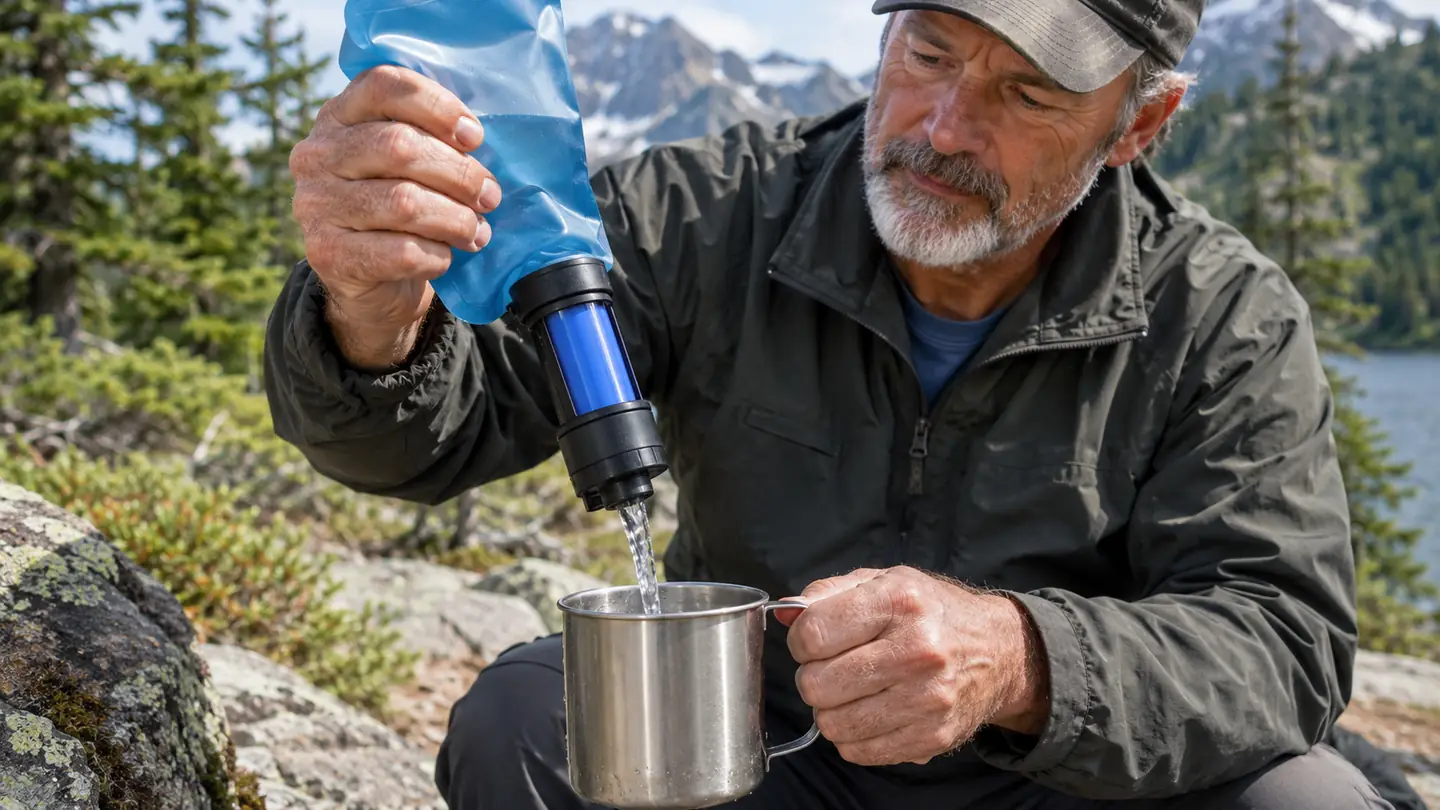
Screw the Sawyer Squeeze filter onto the pouch. The threads are standard, which is one of the reasons I chose this filter: it fits the squeeze pouches, and it also screws onto regular wide mouth water bottles. Then I squeeze the pouch with steady, even pressure. Not a death grip. Not a quick burst. Just a smooth, constant squeeze. The water passes through the 0.1 micron hollow fiber membrane and comes out the other side clean and ready to drink.
This is where I watch people make the biggest mistake. They squeeze too hard, trying to rush it. That forces water through faster than the membrane can handle, and it puts stress on the seal between the pouch and the filter. I have also seen people try to squeeze with one hand while holding the bottle with the other, which works, but I find it easier to set the bottle on a rock and use both hands on the pouch. Steady pressure gives me clean water in about a minute per pouch, and it does not wear out the filter. Rushing saves you ten seconds and costs you a clogged filter.
One thing I have learned about the Sawyer Squeeze is that it does not need to be squeezed hard to work. The membrane does the filtering; the squeeze just moves the water. If I am filtering for a group, I squeeze into a clean bottle and let everyone fill their own from that. If it is just me, I drink straight from the bottle I filtered into. The whole process, from dipping the pouch to drinking, takes me about two minutes once I have a good spot.
Step 4: Backflush the filter when the flow slows
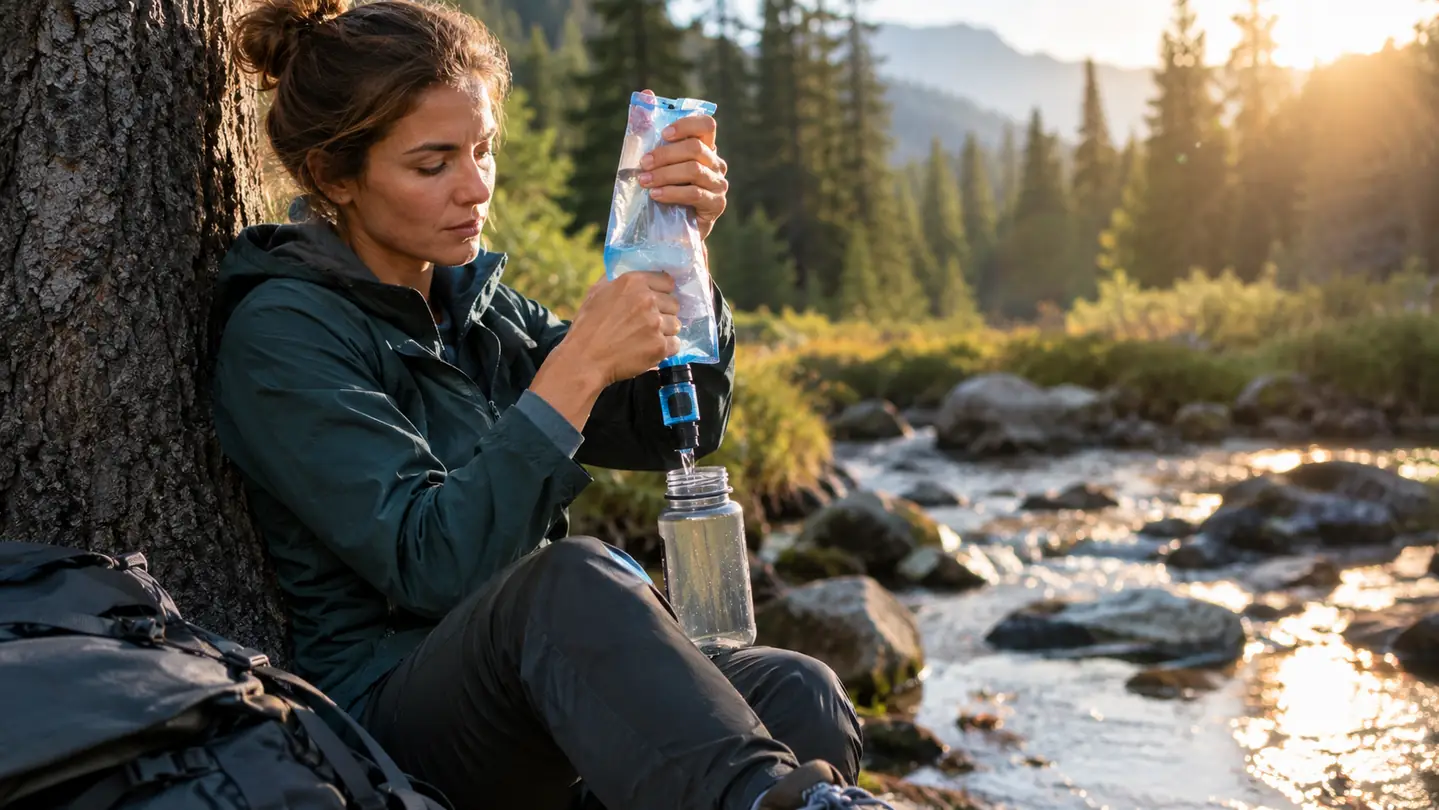
Every filter slows down eventually. When the squeeze starts to feel like I am pushing water through mud, I backflush. The Sawyer Squeeze comes with a syringe for exactly this. I fill the syringe with clean water, attach it to the clean side of the filter, and push water backward through the membrane. That pushes out the trapped particles and restores the flow. It takes about a minute, and it is the single most important maintenance step for keeping a Sawyer working.
I backflush at the end of every trip, before I store the filter. That keeps it ready for next time and extends the life of the membrane. I also backflush mid trip if I am filtering from a silty creek. On a rainy weekend on the Sheltowee Trace last spring, every creek was running brown, and I backflushed twice a day to keep the flow reasonable. It is a small habit that saves me from fighting a slow filter for the rest of the trip.
The syringe is easy to lose, so I keep it in the same stuff sack as the filter, along with the two squeeze pouches. I also carry a small piece of cloth to wipe the threads before I screw things together. Dirt on the threads is a small thing, but it works its way into the seal and can cause a slow leak. Keeping the threads clean is the cheapest insurance there is for a filter system.
Step 5: Store it dry and clean for the next trip
When the trip is over, I take the filter apart, let the pieces air dry completely, and store them in a dry place in the house. The Sawyer Squeeze can be stored wet for short periods, and Sawyer says it is fine to store it wet with a little bleach solution for longer storage, but I have found that a fully dry filter is the simplest way to keep it mold free. I also keep the syringe with the filter so I do not lose it between trips.
One more thing: I never let the filter freeze. A frozen filter can crack the hollow fibers, and a cracked filter is a filter that does not filter. I keep mine in the house, not in the car, through the winter. That small habit has kept my Sawyer working through two full seasons and counting. I have filtered hundreds of liters with it, and it still flows as well as the day I bought it.
The last part of my routine is a quick check before I leave the house. I fill the pouch with tap water, squeeze a little through the filter, and make sure the flow feels normal. If it does, I am ready. If it does not, I backflush and try again. That five minute check has caught a slow filter at home instead of on the trail, which is exactly where I want to catch it.
What Else Helps
The Sawyer Squeeze is the center of my water system, but it is not the whole system. I carry both squeeze pouches, so I can have one filling while the other is being squeezed. I also carry a bandana to pre filter the water if the creek is especially silty. I pour the water through the bandana into the pouch, and that catches the big stuff before it ever reaches the filter. It is a cheap trick that saves the filter a lot of work, and it costs almost nothing in pack weight.
I also carry a wide mouth bottle to drink from. The Sawyer Squeeze screws onto standard water bottles, so I can filter directly into a bottle and drink from it without an extra cup. On warmer trips, I add a pinch of electrolyte mix to the filtered water. That is a personal taste thing, but it makes me drink more, and staying hydrated on the trail is the whole point. I have also used the filter to fill my cook pot for dinner, which saves me from carrying cooking water.
If I am on a longer trip, I will sometimes carry a backup treatment method, usually a few purification tablets, in case the filter freezes or I lose it. I have never needed them, but they weigh almost nothing and they give me peace of mind. The Sawyer Squeeze is rated for an enormous number of gallons, so I expect mine to last a long time, but a one ounce backup is cheap insurance. I have never had to use the tablets, but knowing they are there means I do not worry about the filter on a long trip.
The step that saves me the most trouble is the one most people skip: scouting the creek before you dip the pouch. Two extra minutes upstream saves you a clogged filter and a mouthful of grit.
That is the whole routine. Scout the water, fill the pouch clean, squeeze steady, backflush when it slows, and store it dry. It sounds like a lot when you write it out, but on the trail it is just a couple of minutes of habit. I have filtered creek water this way on the Sheltowee Trace, in the Smokies, and at Big South Fork, and I have never once been sick from it. That is the only test that matters. And if you are new to filtering, start on a creek you know, on a day trip, before you trust it on an overnight.
Filter your next trail water with the same Sawyer I carry
I have used the Sawyer Squeeze on the Sheltowee Trace, in the Smokies, and on a dozen smaller creeks. It is light, simple, and it has never let me down. Check today's price on Amazon and bring clean water on your next trip.
Amazon Check Today's Price on Amazon →