
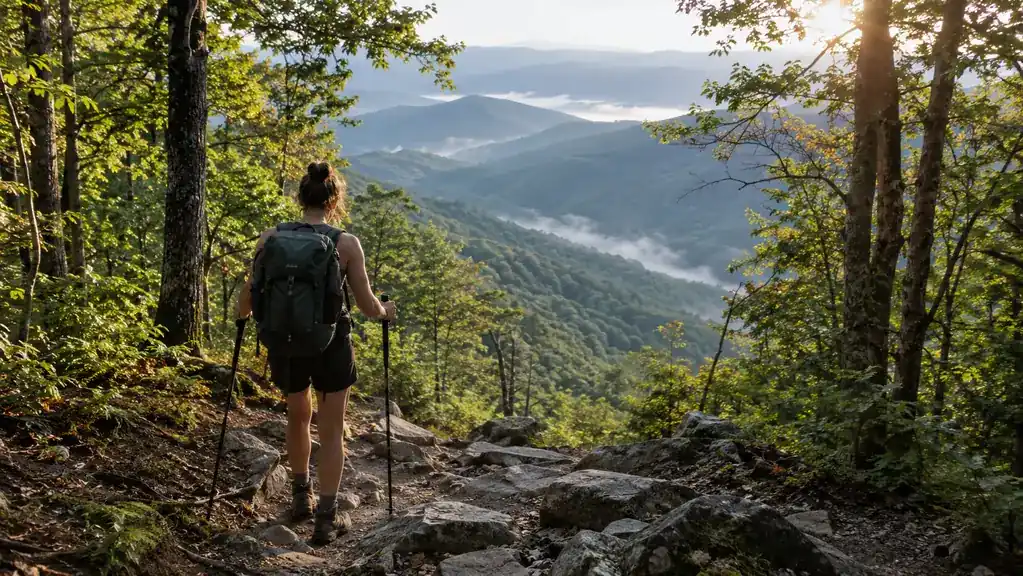
The first time I hiked the Sheltowee Trace with a real pair of trekking poles, I made every adjustment mistake you can make. I set them too long for the flats, left them too long for the climbs, and then on the first steep downhill of the day, I felt every step slam into my left knee. That knee has been cranky since my teaching days, and by the time I reached the bottom of the hill, I was already planning which painkiller I would take with lunch. The poles were BLACK DIAMOND Trail Trekking Poles, and they were not the problem. I was. I had no idea that the right downhill setting is not the same as the right walking setting, and that a four-inch change can mean the difference between a smooth descent and a miserable one.
This guide is the method I settled on after a full season of using these poles on the steep trails around Red River Gorge, Big South Fork, and the Smokies. It is not the only way to do it, and it is not the fanciest way. It is the way that works for a 54-year-old retired PE teacher with a cranky left knee and a lower back that complains when a pack is fitted wrong. If you are new to trekking poles, or if you have been using them for years but never bothered to adjust them for downhills, this is the exact process I use, step by step.
The poles that fixed my descents: BLACK DIAMOND Trail Trekking Poles
Lightweight aluminum, simple twist-lock adjustment, and a pair I have used for a full season on steep Kentucky and Tennessee trails. If you are shopping for your first serious pair, this is the pair I reach for every time.
Amazon Check Today's Price on Amazon →Step 1: Start with the pole upside down and find your baseline
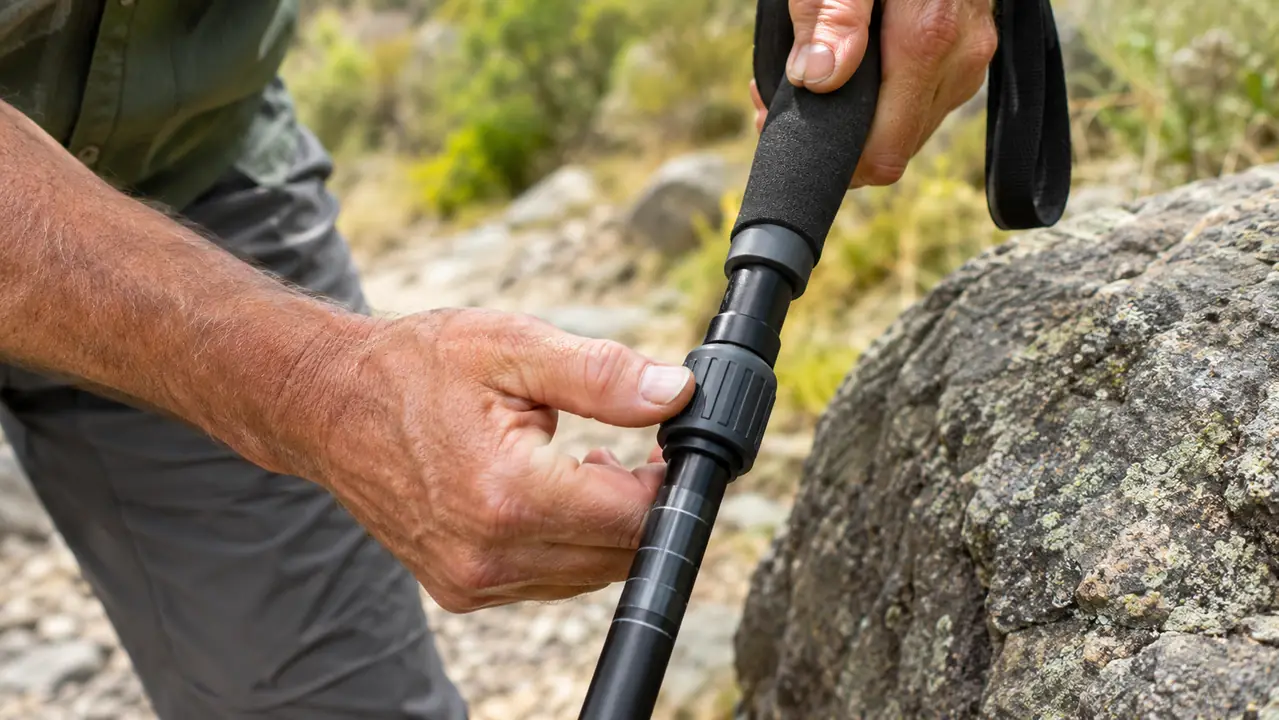
Before you can adjust for a downhill, you need a baseline. The standard rule for general walking is to flip the pole upside down, grip it just below the basket, and let your arm hang naturally. Your elbow should be at about a 90-degree angle. That is your flat-ground length. On the BLACK DIAMOND Trail Poles, the twist-lock collar makes this easy to set and easy to read, because the shaft has markings that let you see the same number on both sides. I set mine so both numbers match, which keeps the pair even without me having to measure anything.
I do this at the trailhead, not at home. Poles can settle and shift in the car, and the difference between a pole that is a quarter inch off and one that is perfect is something my knee notices long before my eyes do. I also do it with the boots I plan to hike in, because a thick winter boot changes the angle by more than people expect. If I am wearing my trail runners, my baseline is a little shorter than it is with my hiking boots.
Write the number down or just remember it. You will be coming back to this baseline at the bottom of every descent. I have a habit of saying the number out loud when I set it, which sounds silly, but it keeps me from guessing later. On a long day, I will adjust my poles four or five times, and the baseline is the anchor for all of those changes.
Step 2: Lengthen the poles two to three inches before the descent
Here is the adjustment that took me the longest to trust: on a steep downhill, your poles should be longer than your flat-ground baseline, not shorter. That feels backwards the first time you do it. Your instinct says shorter poles are easier to manage on a drop. But the opposite is true. A longer pole lets you plant it below you on the slope, so your hand stays around chest height and your body stays upright instead of leaning back. When your poles are too short on a downhill, you end up bent over, reaching down the slope, and all that weight goes straight into your knees.
On the BLACK DIAMOND Trail Poles, I lengthen each pole two to three inches from baseline for a moderate downhill, and up to four inches for something steep and sustained. The exact amount depends on the steepness and on your height. I am six feet tall, and three inches is my sweet spot for most Smokies descents. My wife Dana does not backpack, but when she borrows the poles on a car-camping walk, she needs less length because she is shorter. The test is simple: plant the pole on the downhill side of your body and check that your elbow is still slightly bent. If your arm is fully straight, the pole is too long. If you are reaching down, it is too short.
This is the step where most people give up on the whole idea, because it feels wrong until you actually try it. I remember the first time I lengthened my poles before a steep section of the Sheltowee Trace, I stopped three times to shorten them again because I was sure I had made a mistake. Trust the geometry. Plant the pole downhill, keep your torso upright, and let the pole take the load. Your knee will tell you within fifty feet whether you got it right.
Step 3: Shorten the poles for the climb back up
What goes down must come back up, and the downhill setting is wrong for climbing. On an ascent, you want the poles shorter than baseline, usually one and a half to two inches, so you can plant them close to your body and push off without raising your shoulders. If you leave them at the downhill length, you will feel it in your shoulders and your lower back within ten minutes. My back is the first thing to complain, and it complains loudly.
The rhythm I use is simple: when the trail starts to climb, I shorten the poles. When it levels out, I return to baseline. When it drops, I lengthen them again. That means I am adjusting my poles constantly on a rolling trail, and that is fine. The BLACK DIAMOND twist locks are fast enough that the whole adjustment takes about ten seconds per pole. I time myself on purpose sometimes, and I can do both poles in under thirty seconds including stowing and unstowing the baskets.
If you are on a trail with a long, gradual climb followed by a steep drop, you do not need to adjust at every single grade change. The goal is to adjust when the grade changes meaningfully. I use a rough rule: if I can see the trail climbing for a couple hundred yards, I shorten. If I can see it dropping for a couple hundred yards, I lengthen. That keeps me from fiddling with the locks every fifty feet.
Step 4: Use the terrain, not just the length, to set your downhill form
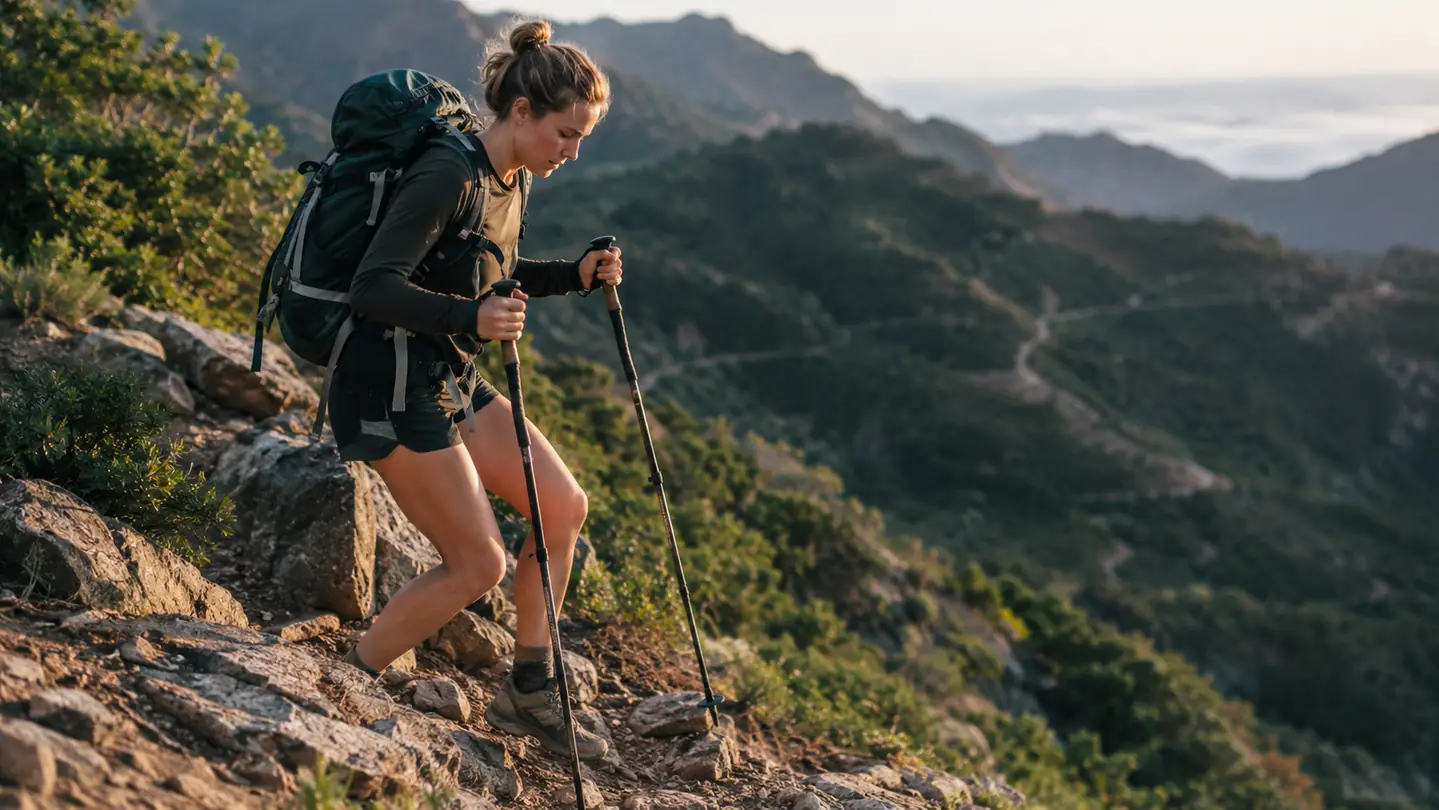
Length is only half of the downhill equation. The other half is how you use the poles once they are set. On a steep descent, I plant both poles at the same time, slightly downhill of my feet, and let them take a real share of my weight. I do not just tap them on the ground for balance. I press down through my palms and let my arms act like shock absorbers. That is what takes the load off my left knee. If I am just tapping, my knee still takes the full impact of every step.
For very steep sections, I also shorten my stride and keep my torso upright rather than leaning back. Leaning back feels safer, but it puts more weight on the poles and more strain on the knees. A slight forward lean, with the poles planted below me, keeps the whole system in balance. It took me a while to trust that feeling, but it is the difference between a controlled descent and a slide.
One more thing I learned the hard way: on loose rock and gravel, plant the pole before you commit your weight to the step. The basket on the BLACK DIAMOND Trail Poles is small, which is fine for packed trail but less helpful on deep talus. If the ground is loose, I plant the pole, test it with a little pressure, and only then step down. That habit has saved me from at least a few falls on the rocky sections of Big South Fork.
Step 5: Reset to baseline at the bottom and check both locks
When the descent ends and the trail levels out, the first thing I do is reset both poles to my baseline length. Walking on flats with downhill-length poles throws off your posture and makes your shoulders ache by the end of the day. I have done it, and I regretted it. The reset takes less than a minute, and it means the next section starts with the right settings instead of me guessing whether the poles are still set for the hill I just finished.
While I am resetting, I check both twist locks. The BLACK DIAMOND Trail Poles have held their setting reliably for me all season, but I have had cheap poles in the past that slipped mid-hike, and a slipped lock on a downhill is dangerous. I give each collar a firm twist until it stops, then I try to collapse the pole with my hands. If it holds, I trust it. If it moves, I open it, wipe the shaft clean, and tighten it again. Dirt and grit are the main reasons locks slip, and a quick wipe fixes most of it.
The last thing I do at the bottom is listen to my body for thirty seconds. Does my left knee feel like it took a beating? Does my lower back ache? If the answer is no, then the settings I used on that descent were right, and I will use the same numbers on the next one. If the answer is yes, I adjust my baseline by half an inch and try again on the next hill. That feedback loop is the real system. The numbers are just a starting point.
What Else Helps
Adjusting the length is the main event, but a few other habits made a bigger difference than I expected. First, I adjusted the wrist straps so they take weight when my hand is relaxed. The strap on the BLACK DIAMOND Trail Poles is padded and easy to set, and when it is adjusted right, I can hold the grip loosely and still get support on the downhill. That saves my hands on a long day. Second, I use the baskets in the summer even though the trails are dry. They keep the tips from sinking into soft ground and they stop the poles from sliding on wet rock. Third, I keep the poles collapsed when I am just walking a short flat section between two climbs. It sounds like extra work, but it gives my arms a rest and keeps me from carrying a pole at the wrong length.
I also learned to trust the pair rather than treating the poles as an afterthought. On my first few backpacking trips with them, I carried the poles in my hand for most of the day and only used them on the worst sections. Now I use them from the first step, and my knee and back both feel better at the end of a 10-mile day. The adjustment system only works if you actually use the poles, and the more you use them, the more natural the adjustments become.
The day I started lengthening my poles for downhills instead of shortening them, my left knee stopped being the first thing I thought about at the bottom of every hill.
Set your poles right, then let the trail do the rest
The BLACK DIAMOND Trail Trekking Poles are the pair I have used for a full season on steep descents, and the twist-lock adjustment makes every step in this guide quick and easy. If you are ready to give your knees a break on the downhills, this is the pair I would buy again.
Amazon Check Today's Price on Amazon →