
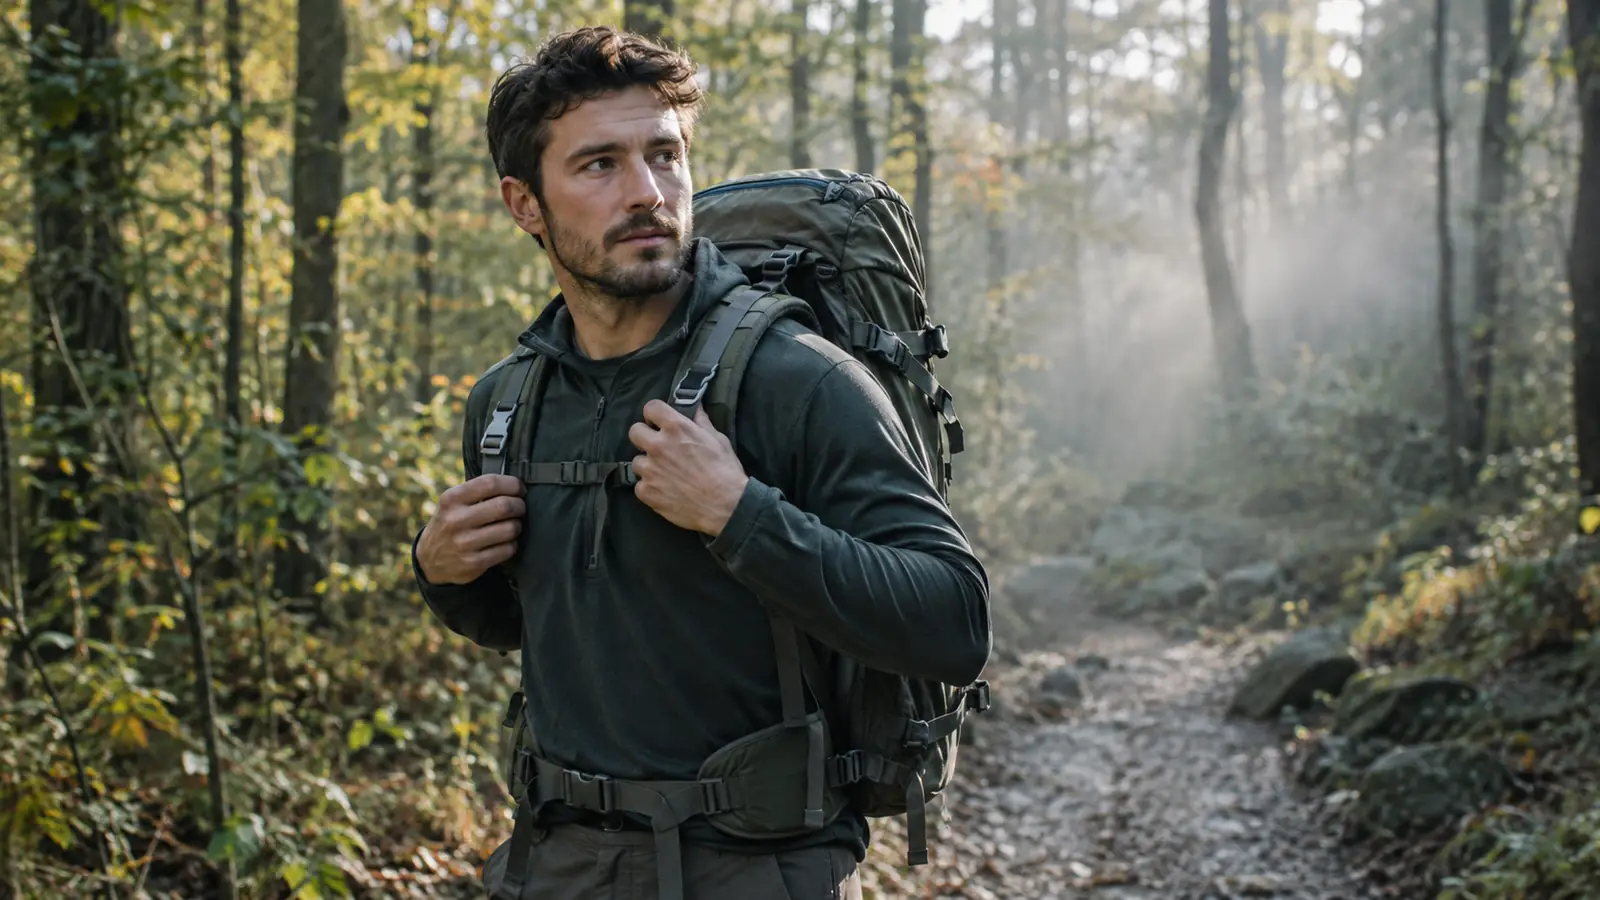
The first time my lower back complained on the trail, I blamed the trail. Then I blamed my age. It took me a full season with the TETON Sports Explorer 65L to figure out the truth: my back and my cranky left knee were telling me the pack didn't fit, and I was ignoring them. I'm Wes Harlan, 54, a retired PE teacher from outside Louisville, Kentucky. I've camped for about 20 years and backpacked for maybe 8, mostly in the Red River Gorge, along the Sheltowee Trace, and in the Smokies. This is how I fit a backpack now, and it's the process I wish someone had walked me through before my first overnight trip.
The mistake most of us make is treating pack fit like buying a pair of shoes: if it feels okay in the store, you take it home and live with it. A pack that rides too low pulls your shoulders back and makes your lower back work harder. A hip belt that sits on your waist instead of your hip bones dumps weight onto your spine. A load packed heavy on top makes the whole thing sway, and every sway is a tug on your knees. If any of that sounds familiar, the fix isn't a different pack. It's a different fit.
I've watched plenty of hikers make the same mistakes I made: wearing the hip belt too loose, cranking the shoulder straps until they dig in, and never touching the load lifter straps at all. Most of them are hiking in packs that cost plenty and fit poorly. The fix is free. It's just a matter of knowing what to tighten and in what order.
The pack I fit this way before every trip: the TETON Sports Explorer 65L
It's the internal frame pack I've carried for a full season in Kentucky and Tennessee. The steps below work on any pack you own, but the Explorer is what I reach for when my back and knee are telling me to slow down.
Amazon Check Today's Price on Amazon →The Five Steps I Run Through Every Time
Step 1: Loosen everything before you put the pack on
Put the pack on with every strap loosened. I mean every one: shoulder straps, load lifters, hip belt, sternum strap. If you start tight and adjust, you're fighting the pack. If you start loose and tighten in the right order, the pack tells you where it wants to sit.
Stand with your feet about shoulder width apart, knees soft, and lift the pack onto one thigh first, then swing it up onto your back. That little move saves your lower back before the hike even starts. I learned it from a physical therapist friend after a bad morning loading the pack into the back of my 2016 Subaru Outback.
Once it's on, don't touch a strap. Just stand there and let the pack settle. Feel where the hip belt is resting before you do anything else. If it's up around your waist, that's your first problem, and Step 2 fixes it.
Step 2: Set the hip belt on your hip bones, not your waist
The hip belt is the whole game. The point of an internal frame pack is to carry most of the weight on your hips, where your skeleton can handle it, not on your shoulders, where your muscles get tired. If the belt sits up on your soft waist, it will slide down within the first mile, and then the shoulder straps take over and your lower back pays for it.
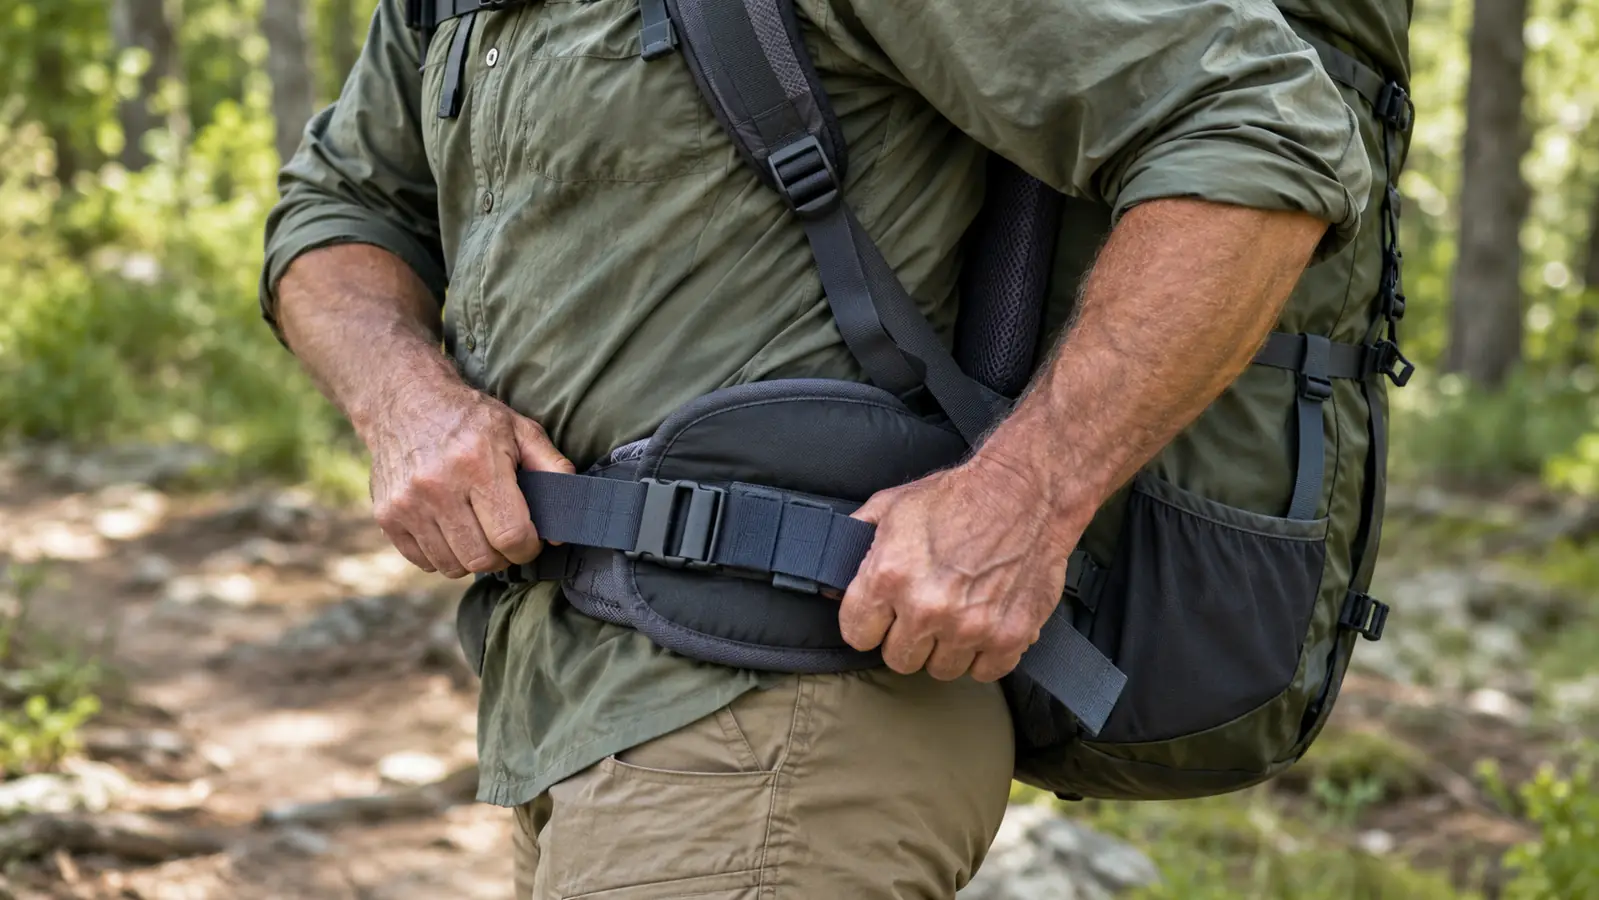
The top of the hip belt should sit right over your iliac crest, those two bony points on the sides of your hips just above your shorts line. When I bend slightly forward and the belt stays put, that's my sign it's in the right spot. If it slides when you bend, loosen it and try again a touch higher.
Tighten the hip belt first, snug but not cinched. You should be able to slide a couple of fingers between the belt and your hip bones. Then, and only then, move to the shoulders. This order matters more than any single strap on the pack.
Step 3: Pull the shoulder straps snug, then set the load lifters
The shoulder straps should wrap over the top of your shoulders and meet your body around your collarbone, with the straps lying flat, not pinching. Tighten them until the pack touches your back, but leave about a finger's width of space under the straps where they cross your chest. If the straps dig into your armpits, the pack is riding too low or the torso length is wrong for you.
Now the step people skip: the load lifter straps, the little ones that run from the top of the shoulder straps up to the pack. When you pull them snug, they tip the top of the pack forward against your back so the weight stops pulling you backward. On the TETON Sports Explorer 65L, I adjust these during the first quarter mile, because the load settles as I walk and the straps need a second pass anyway.
If your shoulders ache at the end of the day, nine times out of ten the load lifters were too loose or the hip belt was too low. Fix those two things and most shoulder pain disappears.
Step 4: Set the sternum strap and check the pack height
The sternum strap, the one that crosses your chest, is not a load-bearing strap. Its job is to stop the shoulder straps from sliding off your shoulders. Clip it at about armpit height and snug it just enough that your arms move freely. It's a stabilizer, not a weight lifter.
Then check the height of the whole pack. When it's fitted right, the bottom should sit at or just below your waist, and the top should sit roughly level with the top of your shoulders. I can't see the back of my own pack, so I back up to the tailgate of my 2016 Subaru Outback and feel where the bottom lands, or I ask Dana, my wife, to look. She doesn't backpack, but she's an excellent second pair of eyes.
One more check: put your hands on your hips. Your elbows should be able to swing back without hitting the pack. If they hit the pack, the load is packed too wide or the pack is sitting too high. That's a comfort detail people ignore until mile six, and by then it's a sore shoulder.
Step 5: Pack the weight where it belongs, then re-check after ten minutes
Fit and packing go together. Heavy stuff belongs in the middle of the pack, close to your back and between your shoulder blades, not at the bottom and not in the lid. If your stove is at the very bottom and your sleeping bag is on top, the pack will want to fall backward, and no amount of strap tightening fixes that.
My usual setup: the Naturehike Cloud-Up 2 tent goes in against my back, the stove and food sit in the middle, and my Therm-a-Rest Z Lite Sol pad straps to the outside. That keeps the center of gravity where it belongs, right over my hips. On the TETON Sports Explorer 65L, I re-check the hip belt and load lifters after the first ten minutes of walking, because everything settles once you're moving.
Here's the ten-minute re-check, in order: stop, loosen the shoulder straps a touch, re-tighten the hip belt half an inch, snug the load lifters, then re-clip the sternum strap. It takes 90 seconds. On the TETON Sports Explorer 65L, that 90 seconds is the difference between a good trip and a trip where I grit my teeth by mile two.
Common Fit Mistakes I Still See
The most common one is a hip belt riding too low. People cinch it around their waist like a regular belt, and then the pack rides up and the shoulder straps take the whole load. By lunch your shoulders are screaming and your lower back is tight. The fix is to loosen everything, lift the belt up onto your hip bones, and start the order over.
The second mistake is overloading the top of the pack. I see hikers stack their sleeping bag on top of everything else because it's the last thing they grab in the morning. That puts the weight high and behind your shoulders, and every step pulls you backward. My rule: if it's heavy, it goes in the middle against my back. If it's light and bulky, it goes on top. That one habit changed more for my back than any strap adjustment.
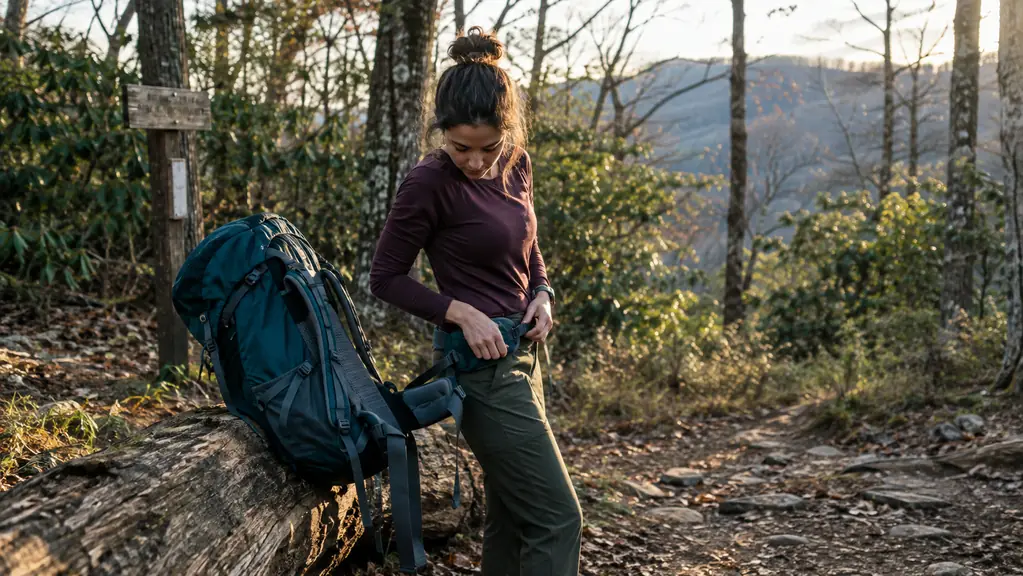
The third mistake is skipping the re-check. You can fit a pack perfectly in the driveway and have it ride wrong by the first switchback. Straps loosen, loads shift, and your body settles into the walk. The ten-minute stop is not optional for me anymore. It's part of the routine.
What Else Helps
Trekking poles take a surprising load off your knees on downhills, and I don't hike without my Black Diamond Trail poles anymore. Keep your total pack weight under about 20 percent of your body weight if you can. For me, that means leaving the extra pair of boots at home and being honest about what counts as essential. A foam pad like my Therm-a-Rest Z Lite Sol can also stiffen up a soft pack if you slide it in against the frame. And if you're between sizes, load the pack with your real gear and walk around the parking lot before you decide. An empty pack always feels fine. A full one tells the truth.
And one honest note about my left knee: a good fit will not fix a bad knee. I use my Black Diamond Trail trekking poles on every descent, and I keep the total weight reasonable. What the fit does is stop the pack from adding to the problem. If my back is neutral and the load is on my hips, my knee only has to deal with the trail, not with a pack that's yanking me backward.
And give the fit a full day before you judge it. The first time I fitted the Explorer properly, I was sure the hip belt was too high. By the end of a 6-mile day on the Sheltowee Trace, I couldn't imagine it anywhere else. Your body has been compensating for a bad fit for years. It takes a few hours to unlearn that.
If your shoulders ache at the end of the day, nine times out of ten the load lifters were too loose or the hip belt was too low.
The Bottom Line
Fitting a pack is a five-minute routine once you know the order: loose first, hip belt on the hip bones, shoulders snug, load lifters set, sternum strap clipped, then a re-check after ten minutes. I do this every time I load the TETON Sports Explorer 65L, and my back and knee have stopped being the first things I think about on the trail. If you're hiking with a pack that hurts, don't buy a new one yet. Run through these steps with the pack you own. If it still hurts after a proper fit, then go shopping, and take these same steps with you.
One more thing I'll tell anyone who asks: the pack is the cheapest part of the equation to fix. You don't need to replace it to stop the pain. You need to fit it. And if you do decide the pack itself is the problem, take these steps with you to the store, because a new pack fitted the wrong way is just an expensive version of the same ache.
Fit it once, and it stays fitted
The same five steps work on any pack, but the TETON Sports Explorer 65L is the one I've carried all season. If your back and knee are telling you the fit is wrong, this is where I'd start.
Amazon Check Today's Price on Amazon →